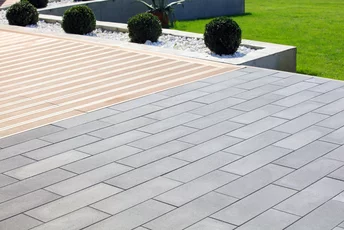
Currently, concrete pavers and slabs reign supreme in garden design. This is due to the material’s advantages, such as durability, ease of maintenance, reliability, and designs that grow more interesting with each passing year. Precast concrete products have also gained immense popularity due to their versatility. They can be used on patios, walkways, and driveways alike. One important factor to consider is the appropriate thickness of the material used for the paving. An extremely important aspect—and another advantage—of concrete slabs and pavers is how easy they are to install. We’ll share which patterns are trending this year and how to properly lay this type of paving.
A Trendy Garden—What to Choose?
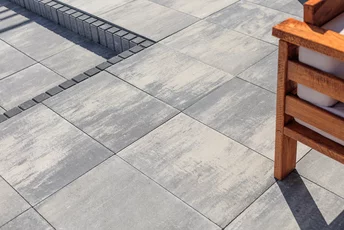
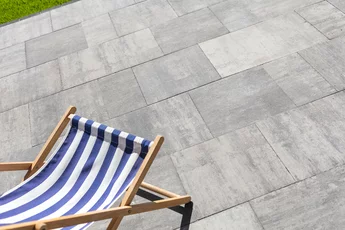
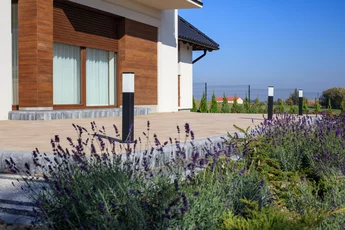
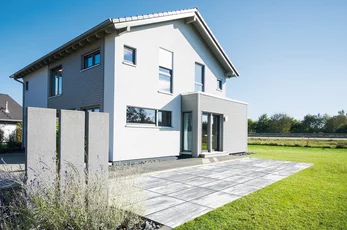
For several years now, slabs with geometric shapes—in various shades of gray, mottled gray, and Corten steel—have reigned supreme. They’re very versatile, as most of them fit well with modern, Scandinavian, and even Japanese-style garden designs. Every year, leading manufacturers introduce new products with increasingly interesting shapes and designs. When choosing a material, pay attention to its thickness. The thinnest slabs—those up to 6 cm thick—are typically installed on patios. An interesting option for a terrace is the Exa slab. Not only is it unique—thanks to its original hexagonal shape—but it also comes in trendy colors: taupe (mokka—steel white) or nerino. The hexagonal Exa is a response to the latest trends in architecture, which draw inspiration from shapes found in nature—in this case, the aesthetics of a honeycomb. It is successfully used in contemporary architecture, both in construction and in interior design elements. An alternative to the somewhat extravagant Exa slab is the more classic, yet equally elegant and modern Lamell patio slab. It features a rectangular shape, a large format (60x40 cm), and a color palette consisting of shades of mottled gray (colors: steel, nerino, foxtrot).
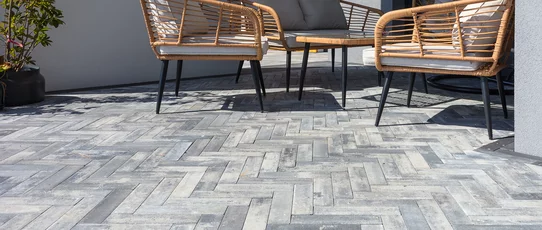
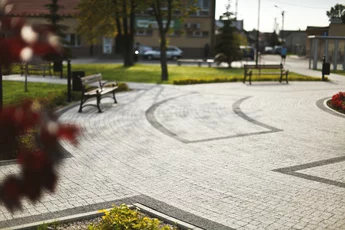
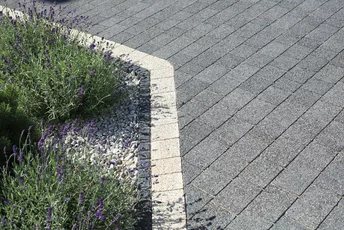
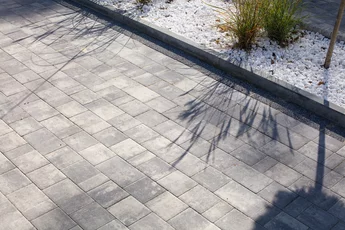
For the construction of walkways and plazas, it’s best to use slabs or pavers that are 6 cm thick or thicker. Similar design trends apply here as with patio slabs. Some interesting options on the market definitely include: the “Oland” slab (14x21 cm, 14x31 cm, 14x42 cm) and “Metrik” (7x28 cm). They can be laid in an alternating pattern, but also in a herringbone pattern, which is making a comeback. They are available in shades of gray, as well as in the color of Corten steel. The former can be arranged in a monochromatic composition, or you can experiment a bit and create a mosaic in various shades of gray. The Oland and Metrik slabs are recommended for pedestrian traffic. Another interesting option is the large-format slab Multicomplex (60x40 cm, 40x40 cm, 20x40 cm) in the versatile color nerino (white-gray-black) or latte (white-light sand). It can be used for building patios, plazas, and walkways. In all areas where occasional vehicle traffic is permitted, smaller pavers are more suitable, such as Avanti, Ideo, Trento, or Napoli.
If you’re looking for solutions for a driveway, it’s worth investing in paving materials approximately 8 cm thick, designed for areas with heavy traffic—in other words, those requiring greater durability. Stylish large-format slabs such as Magna and Urbanika are ideal for this purpose. The first comes in dimensions of 50x75 cm and 50x100 cm and is available in the color nerino. The second, on the other hand, measures 20x60 cm and is available in two textures—smooth and washed—in a very wide range of colors. Of course, the “thicker” slabs can also be used beyond the driveway. They work well on both patios and walkways.
When rearranging your garden this spring, it’s also worth incorporating additional paving elements, such as edging or palisades. The former stabilize the surface, separate green spaces from walkways, and can also serve as decorative elements. A good example of such a product is the Flesz edging. It has the shape of an inverted “L” and comes in shades of gray and graphite. Under its awning, you can easily hide LED strip lighting, which will beautifully illuminate garden paths at night. This not only creates a decorative, magical effect but also enhances safety when moving around the garden. The Zen fence serves a similar purpose, and can also be used to create spaces that function as flower beds or planters.
Spring Redesign—How to Do It?
The simplest way to lay new paving after removing the old one is the so-called “dry method.” It involves laying the slabs directly on two successive layers of dry subbase—natural aggregate and a bed of sand or sand--cement bedding. First, mark out the boundaries of the new layout by driving in stakes and stretching a string between them, or alternatively, using metal pins connected by a line. Using these, we’ll mark out the size of the future surface and the height of the structure. It’s a good idea to install curbs to define the boundaries of the layout. Next, excavate the subsoil to the appropriate depth, taking into account the thickness of the future slabs or pavers. The rule is simple: the thicker the precast elements used to build the surface, the more soil you need to remove. Remove large stones and roots from the soil so they do not pose an obstacle in later stages of the work. Be sure to create proper slopes, and for larger areas, also install drainage. The next step is to compact the soil. If the soil needs to be stabilized, geotextile can be laid before constructing the subbase. The subbase is made of gravel, crushed stone, or fine aggregate, and is then compacted until the desired density is achieved. Its thickness should range from 10 to 20 cm. Once this stage is complete, the next layer of the subbase is laid—a 3- to 5-cm-thick layer of ballast. Here, you can choose between washed sand or cement-mixed sand; once poured, it must be leveled using a paving screed to ensure the paving slabs are properly seated. The next step is to lay the precast concrete slabs. They are laid on the previously prepared subbase and tapped with a rubber mallet to settle them into the ballast. At this stage of the work, it is important to maintain proper spacing between individual elements. Slabs or pavers should always be laid from the sides toward the center. It is also important to mix elements from several pallets, which will help reduce visual discrepancies resulting from color variations in individual pieces of the material. The final step is what is known as “consolidation,” which involves filling the spaces between the slabs or pavers. This can be done using washed sand or polymer sand, such as DR+ NextGel. The process itself is performed by carefully sweeping the sand between the slabs, compacting it, and then pouring water over it. And that’s it.
Quick guide to grouting with DR+ NextGel polymer sand—watch the video
Spring isn’t just a good time to plant in the garden—it’s also a great time to look for new ideas for landscaping your outdoor space and bring them to life. The surface is one of the most important elements of your outdoor space, so it’s a good idea to start with it.